


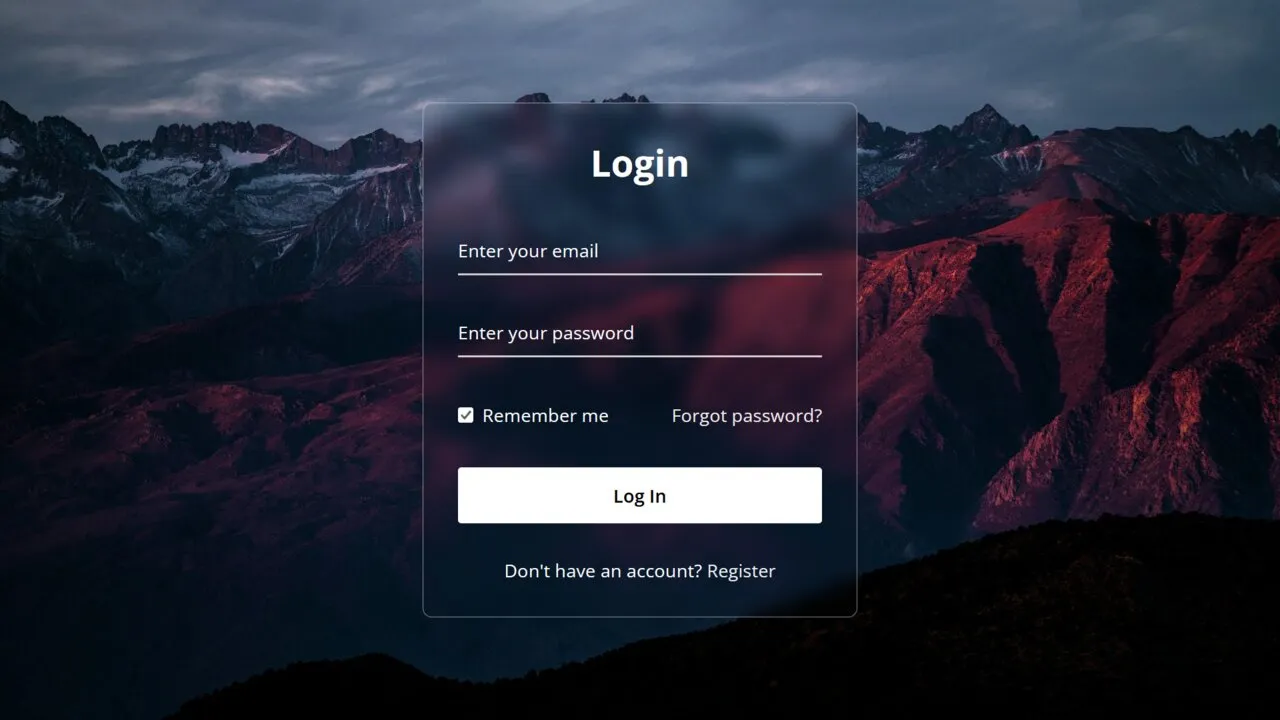
As an amateur web developer, have you seen modern glass morphism effects on login bureaucracy, cards and various components on various websites? Have you considered designing your Login form with glass morphism effects?
Glassmorphism is an exciting consumer interface layout trend that creates the illusion of translucent and blurred glass surfaces, giving elements a semi-obvious appearance while making history and foreground combinations easy.
I will walk you through creating a Glassmorphism Login Form using HTML and CSS, including creating forms with glasslike effects and how to add floating-label animation.
Steps To Create Glassmorphism Login Form In HTML & CSS
- To create a Login Form with glass morphism effects and floating enter label animation using HTML and CSS, follow these easy instructions step-by-step:
- Create a folder. Feel free to name this folder whatever suits your needs, and then place your documents within it.
- Create an index.Html record; its file call must include “index” and its extension “.Html.”
- Create a Style.Css Document. The document name must include its extension (.Css).
Start by including the following HTML codes in your index.Html file. These contain essential HTML elements like documents, enter, hyperlinks and buttons – plus, for primary form validation purposes, I have also added a “required” feature to input fields.
<!DOCTYPE html>
<html>
<head>
  <meta charset="UTF-8">
  <meta name="viewport" content="width=device-width, initial-scale=1.0">
  <title>Glassmorphism Login Form | CodingNepal</title>
  <link rel="stylesheet" href="style.css">
</head>
<body>
  <div>
    <form action="#">
      <h2>Login</h2>
        <div>
        <input type="text" required>
        <label>Enter your email</label>
      </div>
      <div>
        <input type="password" required>
        <label>Enter your password</label>
      </div>
      <div>
        <label for="remember">
          <input type="checkbox" id="remember">
          <p>Remember me</p>
        </label>
        <a href="#">Forgot password?</a>
      </div>
      <button type="submit">Log In</button>
      <div>
        <p>Don't have an account? <a href="#">Register</a></p>
      </div>
    </form>
  </div>
</body>
</html>
Add these CSS codes to your fashion.Css file to style our login form with a glass morphism effect and floating label animation. These lines of code contain various CSS properties, such as blur, background image, and history picture, to achieve the desired Glassmorphism effect.
@import url("https://fonts.googleapis.com/css2?family=Open+Sans:wght@200;300;400;500;600;700&display=swap");
* {
  margin: 0;
  padding: 0;
  box-sizing: border-box;
  font-family: "Open Sans", sans-serif;
}
body {
  display: flex;
  align-items: center;
  justify-content: center;
  min-height: 100vh;
  width: 100%;
  padding: 0 10px;
}
body::before {
  content: "";
  position: absolute;
  width: 100%;
  height: 100%;
  background: url("https://www.codingnepalweb.com/demos/create-glassmorphism-login-form-html-css/hero-bg.jpg"), #000;
  background-position: center;
  background-size: cover;
}
.wrapper {
  width: 400px;
  border-radius: 8px;
  padding: 30px;
  text-align: center;
  border: 1px solid rgba(255, 255, 255, 0.5);
  backdrop-filter: blur(8px);
  -webkit-backdrop-filter: blur(8px);
}
form {
  display: flex;
  flex-direction: column;
}
h2 {
  font-size: 2rem;
  margin-bottom: 20px;
  color: #fff;
}
.input-field {
  position: relative;
  border-bottom: 2px solid #ccc;
  margin: 15px 0;
}
.input-field label {
  position: absolute;
  top: 50%;
  left: 0;
  transform: translateY(-50%);
  color: #fff;
  font-size: 16px;
  pointer-events: none;
  transition: 0.15s ease;
}
.input-field input {
  width: 100%;
  height: 40px;
  background: transparent;
  border: none;
  outline: none;
  font-size: 16px;
  color: #fff;
}
.input-field input:focus~label,
.input-field input:valid~label {
  font-size: 0.8rem;
  top: 10px;
  transform: translateY(-120%);
}
.forget {
  display: flex;
  align-items: center;
  justify-content: space-between;
  margin: 25px 0 35px 0;
  color: #fff;
}
#remember {
  accent-color: #fff;
}
.forget label {
  display: flex;
  align-items: center;
}
.forget label p {
  margin-left: 8px;
}
.wrapper a {
  color: #efefef;
  text-decoration: none;
}
.wrapper a:hover {
  text-decoration: underline;
}
button {
  background: #fff;
  color: #000;
  font-weight: 600;
  border: none;
  padding: 12px 20px;
  cursor: pointer;
  border-radius: 3px;
  font-size: 16px;
  border: 2px solid transparent;
  transition: 0.3s ease;
}
button:hover {
  color: #fff;
  border-color: #fff;
  background: rgba(255, 255, 255, 0.15);
}
.register {
  text-align: center;
  margin-top: 30px;
  color: #fff;
}
Conclusion and Closing Words (optional)
Conclusion Ultimately, we covered step-by-step commands for setting up your project folder, developing HTML shape code, and including CSS patterns for the Glassmorphism effect and floating label animation. Following these instructions, you have successfully built your Glassmorphism Login Form.
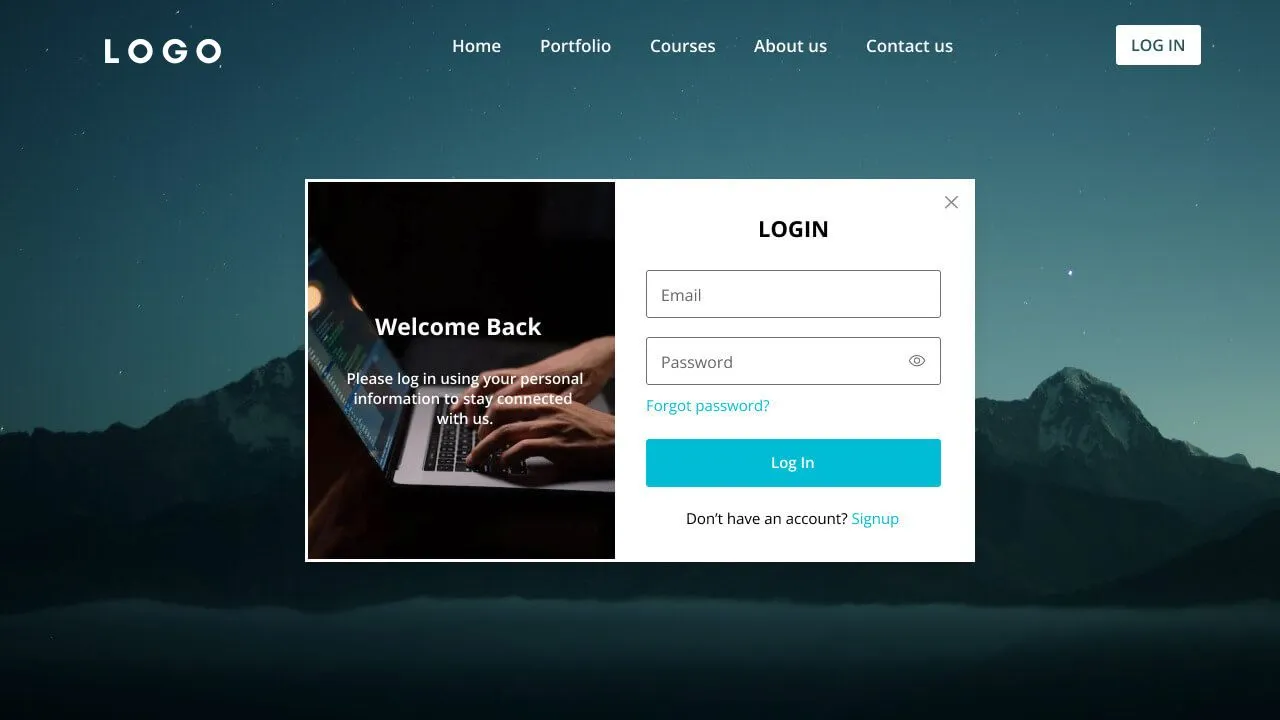
Consider customizing and personalizing your login shape, adding personal touches that make it even more stunning. Why recreate some login form designs featured here to further stretch your HTML and CSS skills?
If you encounter difficulties creating your Glassmorphism login form, you can download the source code documents for this form project for free using the Download button. Alternatively, click View Live for a live demo demonstration.